What Is Chinking? Log Cabin Basics Explained
Have you ever wondered how log cabins don’t get overrun by pests or soaked every time rain blows against the walls? After all, how would the logs sit neatly together when they’re rounded, uneven pieces of wood? The answer is chinking. This flexible sealant goes between the logs to keep outdoor air and moisture outside where they belong. Here’s what chinking is for a log cabin, plus what to do when the old seal starts to fail.
What’s Chinking?
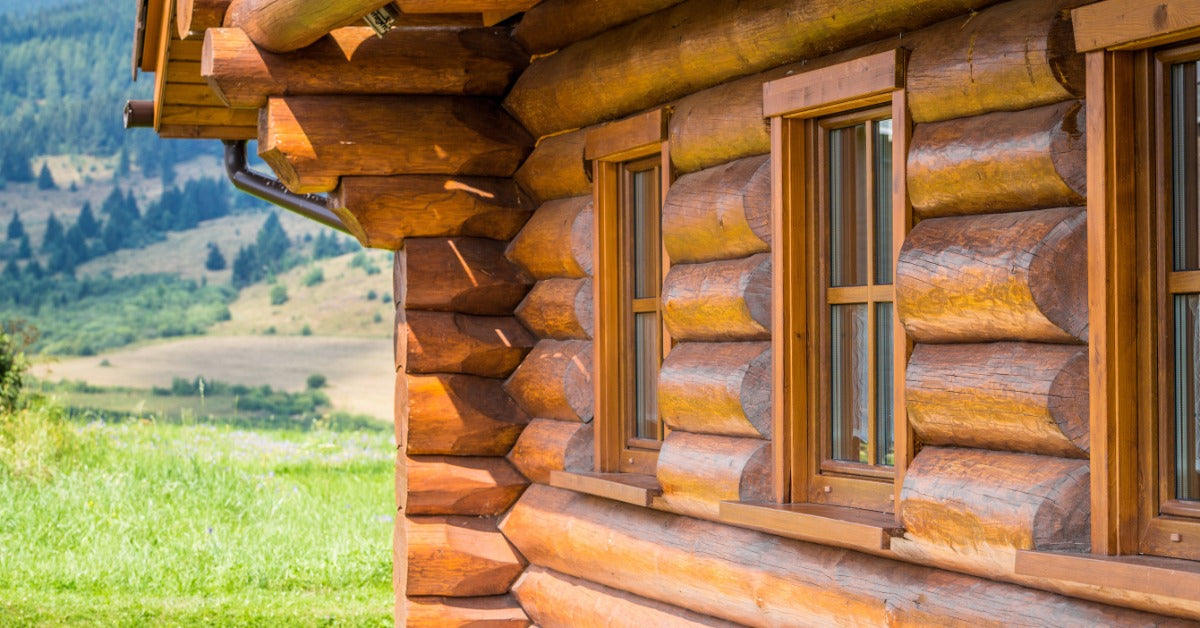
Chinking is the flexible sealant used between the logs of a log cabin or log home. It fills the horizontal and vertical joints where logs meet, closing the spaces that form naturally in log construction. Older cabins used materials like clay, moss, mud, or mortar, but modern chinking uses elastic compounds that bond to the wood and move as the logs expand, contract, settle, and shift.
The purpose of chinking is simple: seal the gaps between logs so the wall system stays tighter and better protected. It creates a barrier along the joints while still allowing the logs to move through normal seasonal changes.
Chinking helps keep out:
- Rain and wind-driven moisture
- Cold drafts and outside air
- Insects and other pests
- Dust, dirt, and debris
- Small gaps that can lead to energy loss
Without chinking, those joints stay exposed.
Signs Cabin Needs New Chinking

Your log cabin may need its chinking renewed from time to time. But don’t rely on any specific timeline alone; you should also watch closely for signs your current chinking is pulling away, cracking, or losing its seal, and make repairs based on the condition of the joints.
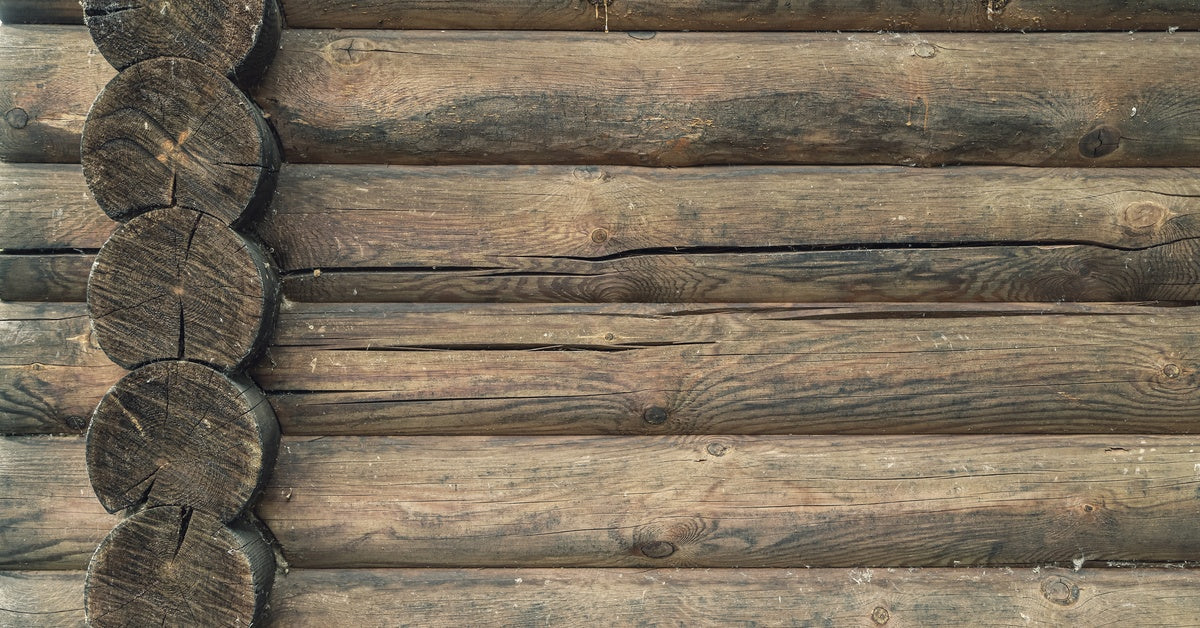
Cracks Along the Chinking
Small cracks can show up as chinking ages and loses flexibility. Once cracks form, water and outside air can work into the joint instead of staying on the surface. A few hairline cracks can call for spot repairs, but long cracks across multiple log courses can point to chinking that needs wider replacement.
Gaps Between Logs and Chinking
Chinking should stay bonded to the logs on both sides of the joint. When you see open edges, loose sections, or places where the sealant has separated from the wood, the joint no longer has a tight seal. Those gaps can let in drafts, moisture, insects, and dirt.
Soft Or Crumbling Sections
Healthy chinking should feel firm and flexible, not brittle, powdery, or soft. Crumbling sections show the material has broken down and can’t protect the joint the way it should. Press gently along suspicious areas and look for pieces that flake, dent too easily, or pull away from the log surface.
Uneven Or Sunken Chinking
Chinking should sit smoothly across the joint instead of dipping inward or looking thin in certain areas. Sunken spots can mean the material has pulled away from the backer rod or lost its proper shape. When sections look uneven, the joint may no longer have enough coverage to block air and moisture.
Drafts Near Log Walls
Drafts can point to open joints, especially around corners, checks, windows, doors, and long horizontal seams. You may notice cooler air near certain walls or rooms that feel harder to heat. When drafts line up with visible gaps or damaged chinking, the seal needs attention before more outside air moves through.
Stains Around the Joints
Dark staining around chinking can point to moisture sitting where it shouldn’t. Water can get behind loose or cracked sealant, then leave marks as it moves through the joint. Staining doesn’t always mean the whole section needs replacement, but it does mean the area deserves a closer look.
Insect Activity Near the Seams
Small insects can find their way into open joints when chinking starts to fail. Look for tiny holes, sawdust-like debris, or activity along the seams between logs. Once pests have a path into the wall system, damaged chinking needs repair before the opening gets worse.
How To Apply Chinking

If you’ve determined your cabin needs new chinking, you likely want to know how to apply it. Chinking is a DIY-friendly maintenance project that takes time, but isn’t particularly difficult. Here’s a step-by-step to lead you through it.
Clean The Joint
Start with a clean surface so the chinking can bond to the wood. Remove loose old chinking first. Then clear away dust, peeling finish, pollen, and debris from the joint. A stiff brush or scraper can help clean the space before new material goes on.
InstallBacker Rod
Backer rod goes into deeper joints before the chinking. It fills open space and gives the chinking a firm surface to sit against. It also helps control how deep the sealant sits in the joint. Press it into place with light pressure, leaving room for the chinking layer on top.
Apply The Chinking
Load the chinking into a bulk loading gun or grout bag. Apply a smooth bead along the joint, working in sections you can finish before the surface starts to skin over. The bead needs enough thickness to bridge the joint and make solid contact with each log surface.
Tool The Surface
After applying the chinking, smooth it with a damp foam brush, spatula, or trowel. Tooling presses the material against the logs and shapes the finished joint. Keep the edges clean. Don’t spread the material less than 3/8” across the wood.
Let It Cure
Chinking needs time to cure after application. Keep it protected from heavy rain and freezing temperatures while it sets. Avoid touching the surface during the cure window listed on the product label. Once cured, the joint should stay sealed against the log surface.
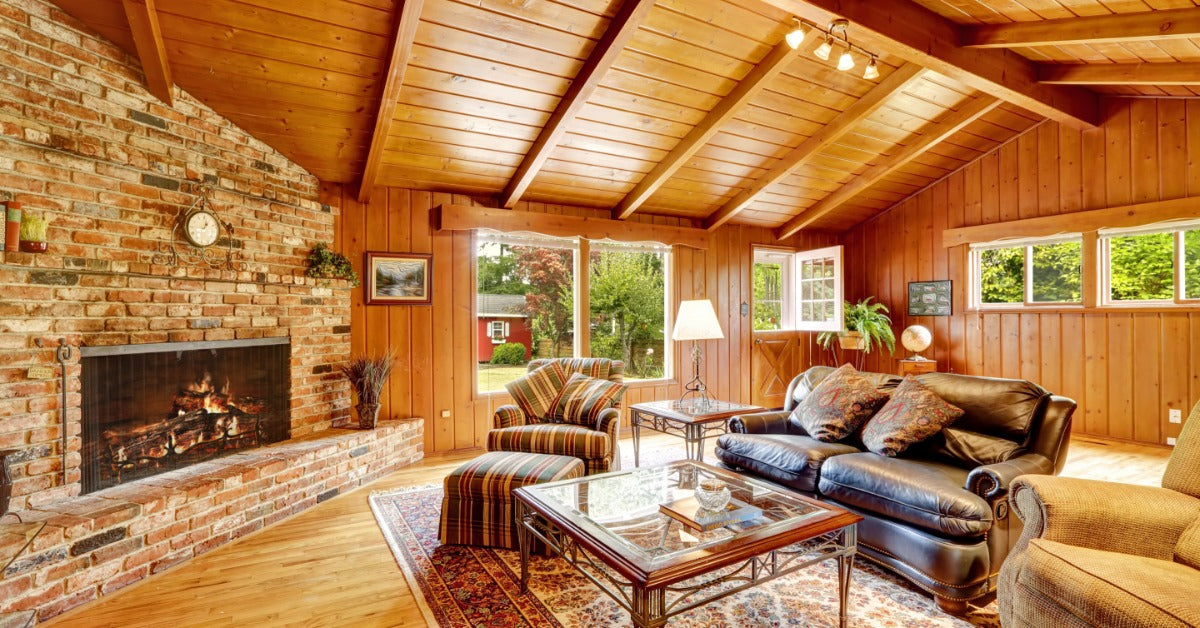
Keeping Log Walls Sealed
Chinking is an important part of log home building and maintenance. This sealant keeps out moisture, drafts, pests, and any other outdoor elements that could work through gaps between the logs. If your home shows signs of cracking, pulling away, or worn joints, you can get the log cabin chinking material you need at Timeless Woodcare Products. We sell options from trusted names like Perma-Chink Log Home Chinking and Sashco Log Jam. These products deliver strong adhesion and long-term flexibility to keep your cabin chinking sealed against outside elements.