

Article: The Ultimate Guide To Log Cabin Chinking Materials
The Ultimate Guide To Log Cabin Chinking Materials
How's your log cabin's heat retentionholding up? If you've been noticing drafts in winter or cool air escaping in summer, it could be time to refresh the chinking. Chinking seals the gaps between logs to keep your cabin warm in cold months and cool in humid ones.
There are different types of log cabin chinking materials, and each formula behaves differently depending on your logs, your climate, and how long you need the seal to last. Here's a guide to log cabin chinking materials to help you choose the right product for your property.
What's Chinking?
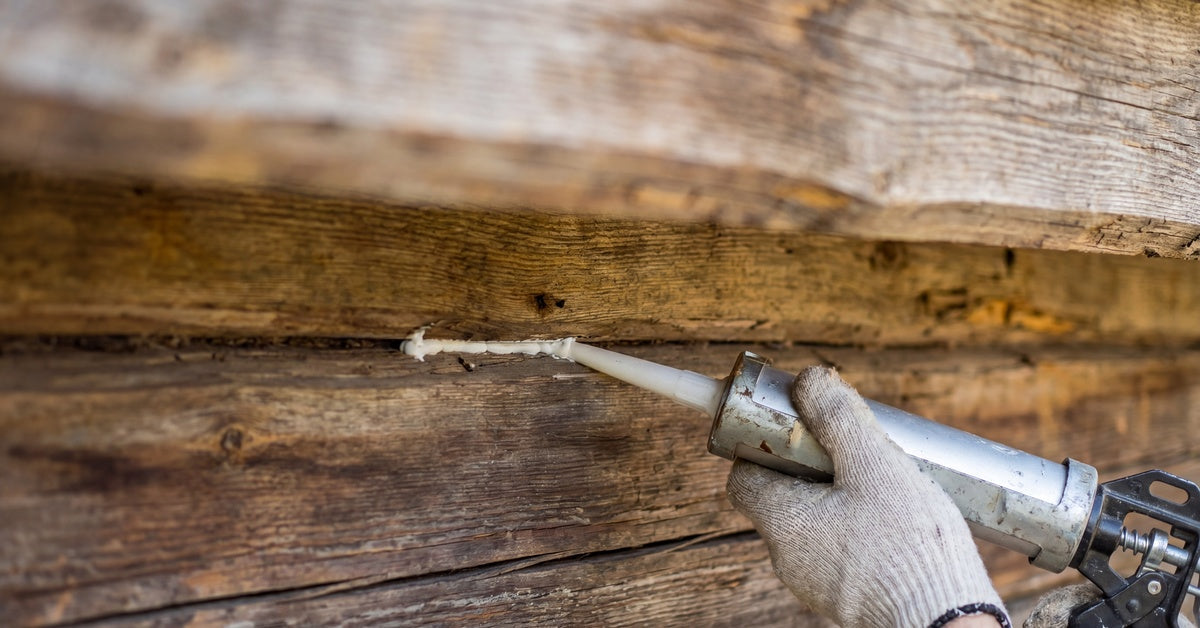
Chinking is the sealant applied between the horizontal courses of logs in a cabin wall. It fills the gaps that naturally exist between logs, and keeps air, moisture, insects, and debris from working their way inside.
Traditional chinking was a mortar-based mix, often made from sand, clay, and other locally available materials. Those old formulas were rigid, which created problems over time. Logs expand and contract with temperature and moisture changes. A rigid sealant can't keep up with that movement, so it cracks and separates, leaving the cabin exposed again.
Modern chinking is flexible by design. It bonds to the log surface and stretches with the wood as it shifts through seasons. That flexibility is what keeps a good chinking job intact for years instead of cracking apart after one winter.
Signs Your Chinking Needs to Be Replaced

- Visible cracks running along the chinking line
- Sections where the chinking has pulled away from the log surface
- Drafts near walls that weren't there before
- Moisture getting in along the log courses
- Chinking that crumbles when pressed or touched
- Discoloration or dark streaking above or below chinking lines, which can point to water infiltration
If you're seeing any of these, the existing chinking has lost its seal. Patching over old, failing material usually doesn't hold. In most cases, removing the compromised sections and starting fresh with new material produces a better result.
A Guide to Log Cabin Chinking Materials
Different chinking products use different base chemistries, and that changes how they apply, how they cure, and how long they last. Here's a breakdown of the main types you'll encounter.
Acrylic Latex Chinking
Acrylic latex is the most widely used chinking material in modern log home restoration and construction. It's water-based, so it cleans up easily and releases fewer fumes during application. Once cured, it stays flexible enough to move with the logs without cracking.
One of the advantages of acrylic latex is its paintability. If you want the chinking to blend with a stained or painted exterior, you can tint it or paint over it with Chink Paint after it cures. It also bonds well to most wood species without requiring a separate primer in most situations.
Acrylic latex chinking works in a wide range of climates, which is part of why contractors and homeowners reach for it so often. It handles freeze-thaw cycles better than older rigid materials, and it holds up reasonably well against UV exposure over time.
Silicone-Based Chinking

Silicone offers a higher level of flexibility than acrylic latex, which makes it attractive for cabins in climates with dramatic seasonal temperature swings. It stretches further without losing adhesion, and it's highly resistant to moisture.
The tradeoff is paintability and adhesion to wood substrates. Most silicone formulas don't accept paint well after they cure, so what you apply is what you see. If you're working on a cabin where the chinking will be left natural or where color isn't a priority, that's a minor issue. But if you're trying to match a specific aesthetic, silicone can limit your options.
Silicone is also harder to clean up during application. It requires a solvent rather than water, which adds a step to the process and means you need better ventilation while working.
Mortar-Based Chinking
Mortar-based products are the older standard. Some restoration projects still call for them, particularly on historic cabins where maintaining the original look is part of the project scope.
Modern mortar formulas are improved compared to the rigid clay-and-sand mixes used in original construction, but they're still stiffer than acrylic or silicone options. That means they're more prone to cracking in climates where logs move through seasonal changes.
If you're working on a cabin with older logs that have already stabilized and aren't moving much, mortar-based chinking can hold up reasonably well. On newer wood or in climates with wide temperature variation, it's harder to recommend over more flexible alternatives.
Synthetic Polymer Chinking
Synthetic polymer chinking is formulated specifically to handle extreme flexibility and long-term durability. These products can stretch considerably without cracking or separating from the log surface, which makes them a solid choice for cabins in wet climates or areas with heavy seasonal movement.
Polymer-based formulas tend to cure to a texture that mimics traditional chinking, so they're often used on cabins where the owner wants a more finished, traditional appearance without sacrificing modern performance. Many synthetic polymer products also carry longer manufacturer warranties than standard acrylic options, which is worth factoring in when you're budgeting a larger restoration.
Application is similar to acrylic latex in terms of cleanup and process, so contractors familiar with one usually transition easily to the other.
Foam Backer Rod
Foam backer rod isn't a chinking material on its own, but it's a necessary part of a proper installation. Before applying chinking over a wider gap, you press a trapezoidal foam rod into the space. The chinking then bonds to the log surfaces on either side without bonding to the backer rod itself.
Why does that matter? If the chinking bonds at three points instead of two, it can't flex properly when the logs shift. The backer rod limits adhesion to the two log faces, which lets the sealant stretch without tearing away from the surface. Skipping this step in a wider gap is one of the more common reasons chinking fails prematurely.
Your Log Cabin Deserves a Tight Seal
Hopefully, this guide to log cabin chinking materials has helped you narrow down the right product for your property. Once you decide what material you want to use, come shop at Timeless Woodcare Products for chinking materials for log homes. We carry flexible and mortar-style options for cabins of all ages and construction types. We also sell the applicators and tools you need to get the chinking in cleanly and evenly. Let's get your cabin sealed up and protected again.

